I remember the first Pluralsight course I watched.
It was almost five years ago, in 2012. I don’t really remember much about the application we were developing, but the UI needed a lot of interactivity and I was evaluating some Javascript frameworks and libraries that would make our live easier. One of them was Knockout.
Somehow, I came across the course Single Page Apps with HTML5, Web API, Knockout and jQuery, by John Papa. After watching the course, my thoughts were like wow, what an amazing course, I wish I could teach a course like that someday.
Well, after being accepted as a Pluralsight author a month ago, I’m closer to that goal.
In this post, I’ll tell you about my experience and give tips to help you become a Pluralsight author if you’re interested.
The Audition Process
On January, 20th, I sent my application through the form on Pluralsight’s site. I was hesitant at first, I already had some experience creating screencasts for the JavaScript channel at Sitepoint but I felt I needed more experience before applying. Then I thought, what the hell, the worst thing that can happen is that they say no but hopefully they will give me feedback so I can improve my presentation skills.
When sending the form, you need to specify your area of interest, in what technologies you want to create courses. My areas of interest are Java and Javascript. I thought Java was a better choice since Pluralsight doesn’t have a lot of content in this area compared to others. I turned out to be a great choice, and probably one of the reasons I was accepted (more on this at the end of the post).
The next day (it was a Friday), I received an email from an acquisition editor, telling me that the next step was to create an audition video, giving some guidelines and resources to prepare it.
He suggested we scheduled a call to answer questions or concerns from reading the documents. The problem was that his vacations started next Monday and he’d be back three weeks later.
I didn’t want to wait three weeks just to start preparing the video, so I replied that the process was clear to me, I was familiar with Pluralsight’s library and recording videos and that I could create the audition video while he was on vacation.
And so I did.
I spend the first week studying the resources they gave me and some others. I also wanted to know about the experience of other authors’ audition. Luckily, you can find on YouTube a few audition videos. There are some helpful blog posts also:
- Authoring for Pluralsight by Chiu-Ki Chan
- Applying to Pluralsight by Nate Taylor
- The Making of My Pluralsight Course by Stephen Haunts
- Lessons Learned from Creating my First Course for Pluralsight by Mike Van Sickle
- Becoming a Pluralsight author by Matthew Proctor
- Pluralsight Audition on AWS Private Hosted Zones by Aaron Medaco
- The reasons I did not pass on the pluralsight audition by Wennder dos Santos (found this recently)
The second week I was busy doing other things, but I spent the entire last week creating the video. The topic was about how you can use the Spark web microframework (don’t confuse it with Apache Spark) to create microservices. This is how long it took me to complete the audition video:
- Choosing the topic and think how I’d approach it: 10 hr
- Preparing the script: 4 hrs
- Programming the demo app: 2 hrs
- Making the slides: 2 hrs
- Recording/editing Audio: 1 hr
- Recording slides/demo: 0.5 hr
- Editing: 3 hr
- TOTAL: 22.5 hrs
And here’s the result:
However, after two and a half weeks of sending the video for review and still not receiving an answer, I sent a follow-up email. The editor replied telling me that the video was good enough to get a do-over and it was still being reviewed.
Great, at least I was not rejected immediately, I thought. So imagine my surprise when the next day I saw an email in my inbox with the subject Congratulations and Welcome to Pluralsight.
The reviewer mentioned four points on which I can improve my presentation (which I’ll discuss in a moment), but overall they liked, especially the comparison with Spring Boot.
So far, everyone at Pluralsight has been amazing and I’m on my way to create my first course about exceptions and the basics of error handling in Java, to be released in June/July this year (a more advanced second part and then probably some courses about JBoss will follow).
Now that you know the story, let me tell you what you’ll need to audition and give you some tips to record your video.
Recording Software
You’ll need a screen recording software. The best are Camtasia if you’re on Windows (if you don’t want to buy it, you can get it on a monthly subscription at Steam) and ScreenFlow if you’re on Mac (although there’s a version of Camtasia for Mac also).
You’ll have to use a template for your presentation that Pluralsight will provide. There’re versions for PowerPoint and Keynote, so you’ll need one of those too.
Audio Equipment
For the audition video, you can use the microphone from your webcam if you want, they don’t care much if it’s not perfect, as long as your English can be understood (this also means that if you’re not a native English speaker you also have a chance, even if you have an accent).
However, I’ll recommend you use the best microphone available, even if that means you have to purchase new equipment because sooner or later you’ll have to get this right.
For our needs, there are two types of microphones:
- Dynamic
- Condenser
Dynamic microphones are less sensitive than condenser microphones, which means that you have to turn up the volume (gain) a lot more to have a good volume level. This makes dynamic microphones more suited for a noisy environment, however, the disadvantage is that you have to talk really close to the mic. That’s why many people prefer (and recommend) condenser mics.
Also, there are USB mics, which can be plugged directly into the computer, and XLR mics, which need an audio interface with USB output or an XLR-to-USB adapter so they can be used with a computer.
You can choose either a dynamic or condenser mic according to your needs, but I recommend you choose an XLR one because it will give you more flexibility in the long run.
Having said that, you don’t need an expensive microphone or preamp to sound good. In fact, better (and expensive) equipment only reveal the flaws on your recording environment. Watch this and this to understand my point. And let’s not forget this one.
Any mic between $200 and $300 USD (maybe less) will do the job. In my opinion, these are excellent choices:
- Electrovoice RE320 (dynamic)
- Rode NT1 (condenser, don’t confuse it with the NT1A, it’s a different mic)
You’ll also need:
- A boom arm or a (desk) stand to hold the microphone. The best one is the RODE PSA1.
- A good XLR cable. The best ones are the Mogami Gold Studio but I have had good results with the LyxPro Quad Series.
- A pop filter, to decrease plosive sounds such as p.
- An USB Audio Interface with mic preamps.
About the pop filter, I recommend something like this one. My mistake was using this windscreen foam when recording my audition video, it muffled the sound (it was noted by the reviewer).
About the preamp, there’s a guideline that says that you should spend the same amount of money for a preamp than for the microphone, which makes sense because a good microphone will have an average sound with an average preamp.
However, my recommendation is to buy a DBX 286s Preamp/Channel Strip Processor that also has a noise gate to silence unwanted background noise, a cheap USB audio interface like the Focusrite Scarlett Solo to get the audio to a computer, and a XLR male to 1/4-Inch TRS male cable to connect both devices. You can even buy a DBX 286a (the previous generation of the 286s) on Ebay for $100 USD or less. Here’s a review of the DBX 286s and here’s another one.
I don’t record the audio directly in Camtasia/ScreenFlow, I record the video first and then the audio in Audacity, which is free and cross-platform. Some other good (and paid) options are Adobe Audition and Reaper.
Finally, once you have recorded your audio, a great tool to level your volume and reduce noise and hum is Auphonic. It has a web version to process up to 2 hours of audio per month for free.
Now, the most important part, how to structure your presentation.
Structuring your audition video
Do you know why Pluralsight doesn’t pay so much attention to the audio (and even some editing errors)?
Because that’s the easy part. You can learn all about microphones and how to use software like Camtasia and PowerPoint in a week or less.
How you teach, how you approach a topic and create a learning experience, that’s the difficult part and one that cannot be learned so easily.
I’m not an expert and I’m still learning, but I’ll analyze my audition video to give you some tips. Ultimately, every person has a teaching style that needs to develop.
First, I want to mention two books that I think are REQUIRED reading for anyone teaching something:
- Resonate: Present Visual Stories that Transform Audiences by Nancy Duarte
- Badass: Making Users Awesome by Kathy Sierra
It will be helpful to watch a lot of TED talks and Pluralsight courses to get a feeling of what a good presentation/course is too (if you’ve read Kathy Sierra’s book you know what I’m talking about).
The audition video must be no longer than 10 minutes, so you’ll need to choose a topic that can be taught at that time.
It should have ONE objective. Have you noticed that all Pluralsight courses since mid-2016 have this sort of trailer as the first module (called Course Overview)? It’s a one or two minute clip that towards the end, mention something like At the end of this course, you’ll be able to do X. That’s the objective. You should define one for your video.
For my video, the objective was to teach how to create a microservice with the Spark web microframework, something simple that can be taught in about 10 minutes.
Also, it should have a storyline. There must be a hero, a villain, and something must happen to make the audience care. We’re not creating a novel, I know, but great presentations tell a story. The Rule of 3 can helps us with this.
The Rule of 3 tells us that the information presented in groups of three sticks better than any other number of items. It creates focus. People will have a hard time remembering something more than three items. Steve Jobs was a master of the Rule of 3, watch it in action here, in probably, the best presentation ever given.
We’ll apply the Rule of 3 to our video with a basic structure of three parts, a beginning, a middle, and an end.
Here’s a three-part outline of a story adapted to be used in a presentation:
PART ONE
- Opening
- What’s the point of the talk
- Why should the audience care? (Benefits)
PART TWO
- ACT ONE
- The hero is presented
- The world of the hero is presented
- The villain is presented
- ACT TWO
- The hero suffers
- The hero fights
- The villain attacks
- ACT THREE
- The hero fights back
- The hero wins
- Show the point of the story
PART THREE
- How does the story relate to the audience?
- What are the benefits again?
- Call to action
In my video, the hero is Spark and the villain is Spring Boot.
In Resonate (there’s a TED talk if you want to watch it, but you still have to read the book), Nancy Duarte talks about how we can take the viewers (users, learners, etc.) from what is (the status quo, the problem) to what it could be (a better future), constantly showing the gap between them with big contrasts.
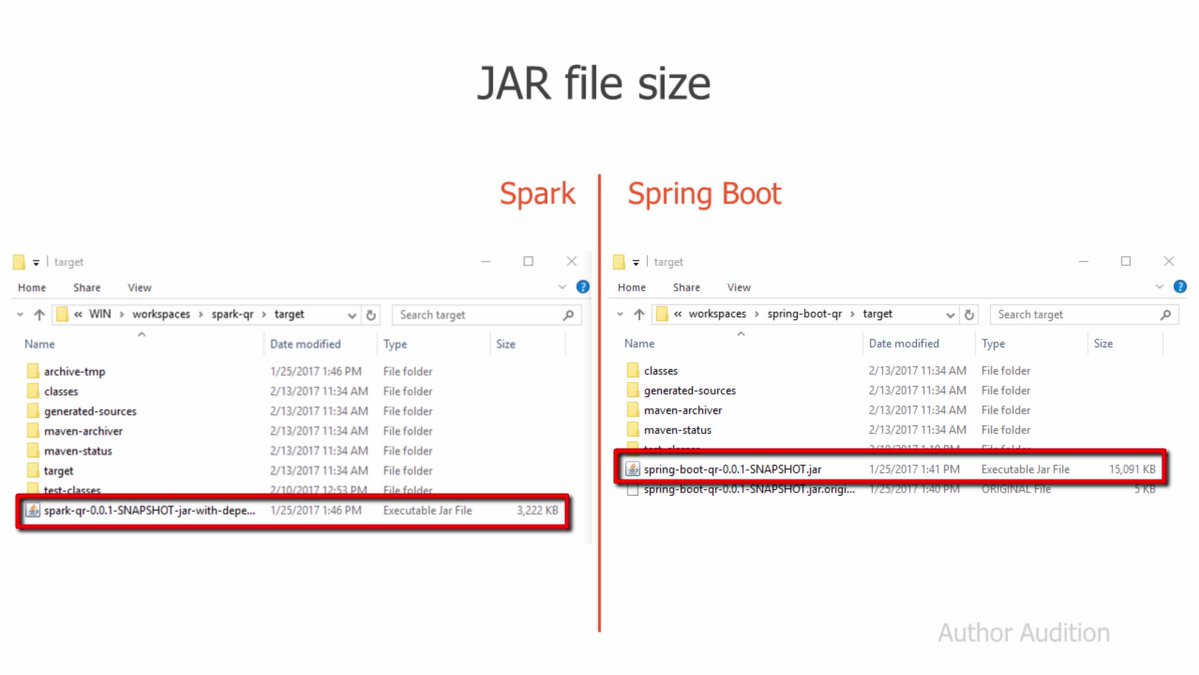
So I thought, how can I create that contrast so the viewers could have that aha moment when they realize that for certain tasks, using a microframework like Spark is better. It occurred to me that I could create that contrast by comparing the app’s start up time and size of the JAR files.
With all this in mind, I start the video with the following slide, where I present myself and the topic:
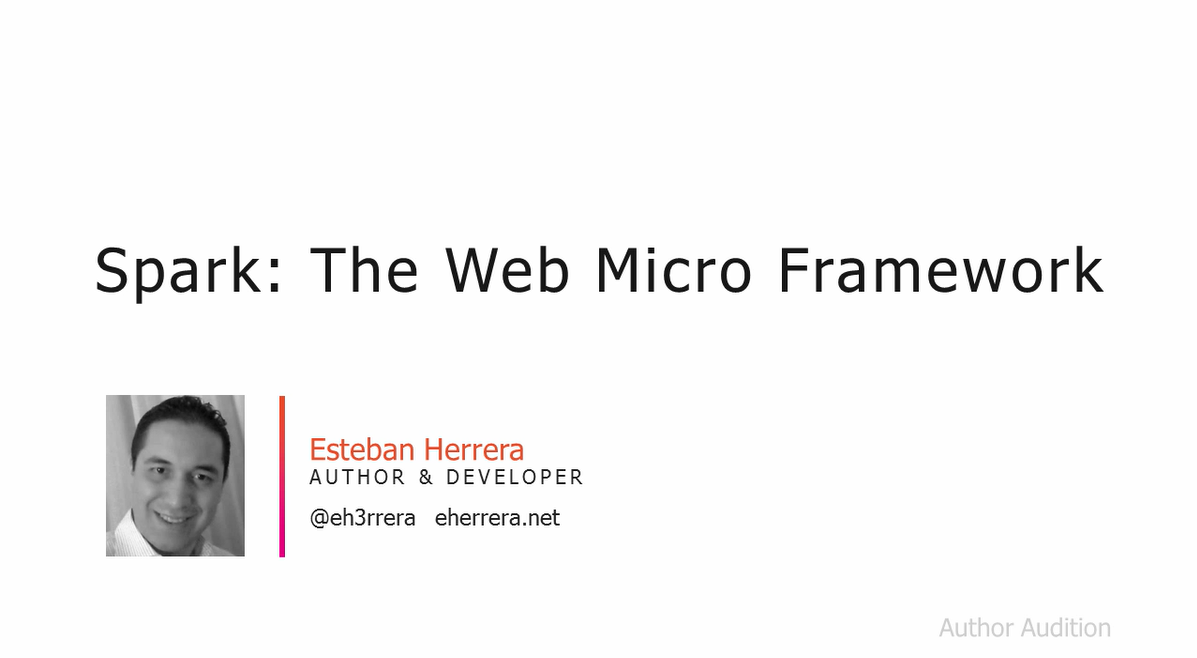
Then, I mention I won’t be talking about Apache Spark (as they have the same name, it’s very common for people to confuse them). I choose to make another slide to keep the presentation moving, but I could have used the first slide also:

That was my opening.
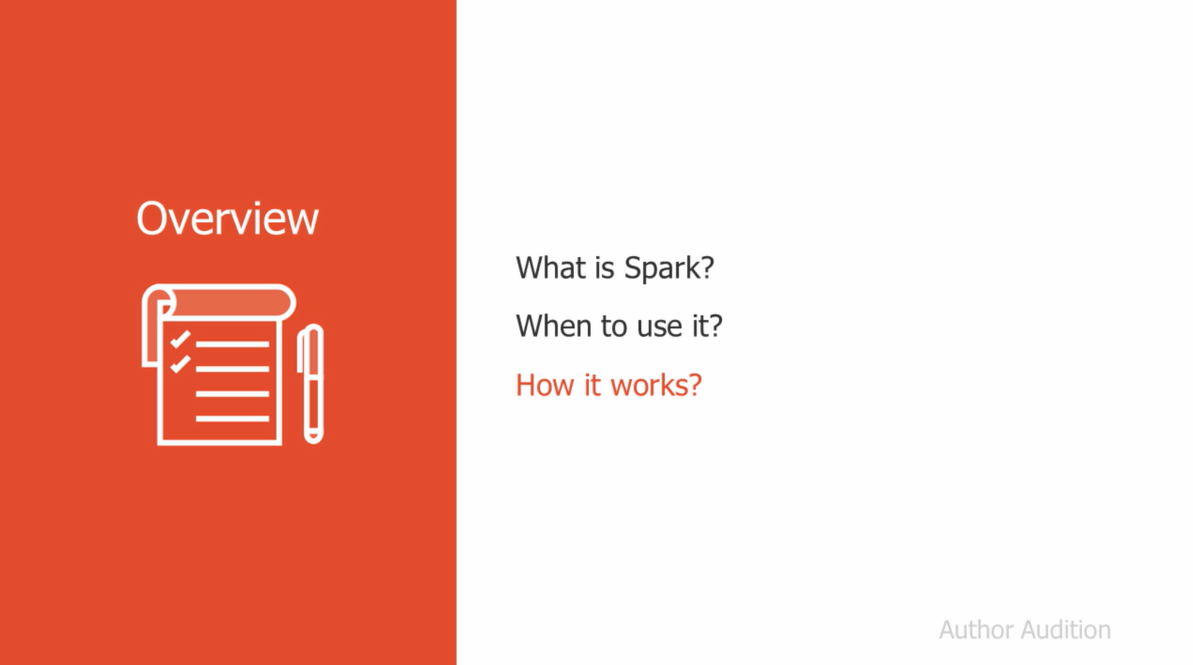
Next, the point of the talk:
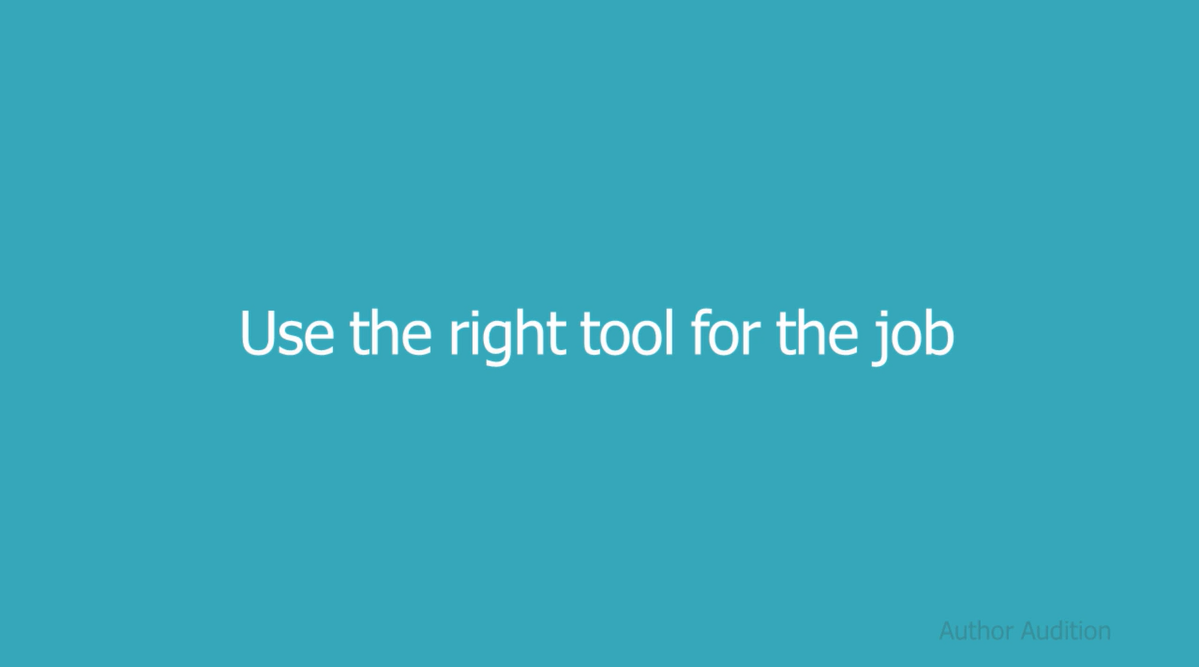
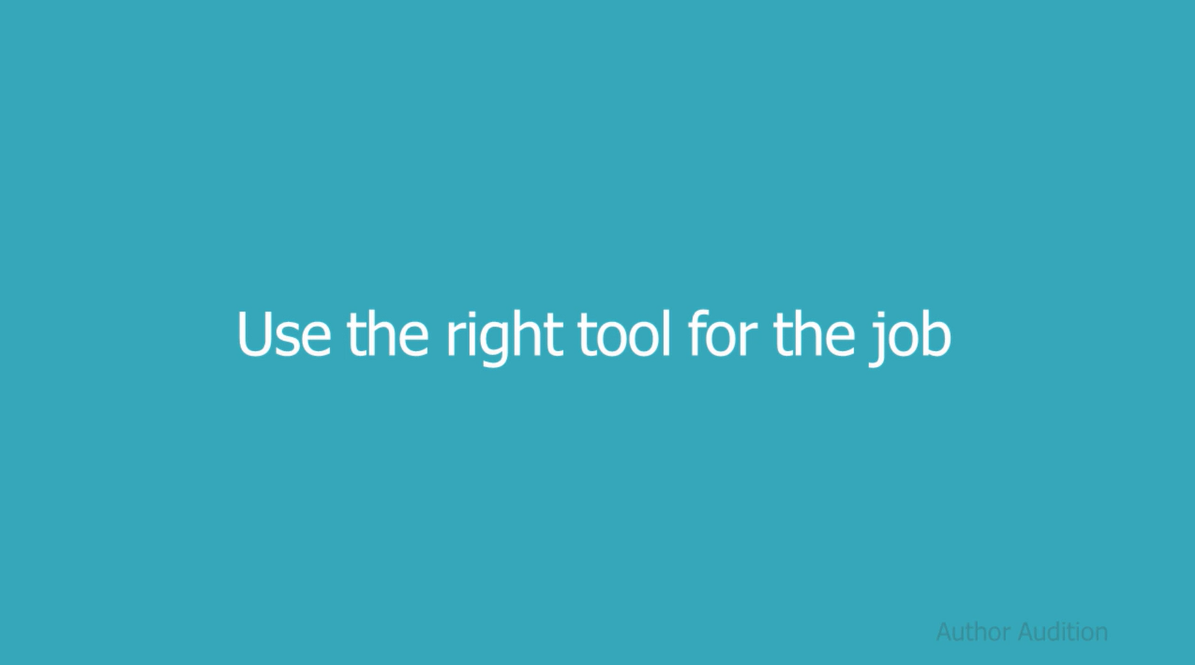
In the middle of this slide, I introduce another one with the phrase Use the right tool for the job because I want it to stick to the mind of the viewer, it will help me create the contrast of what is against what could be:
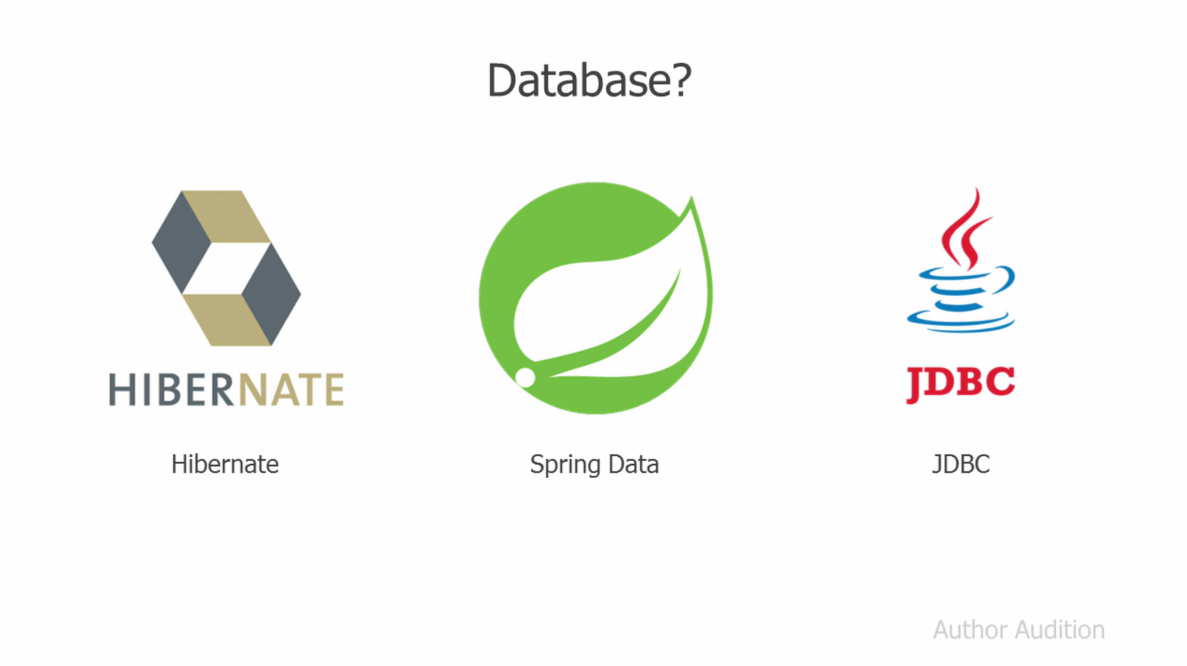
In the next slides, the hero and its world are presented:
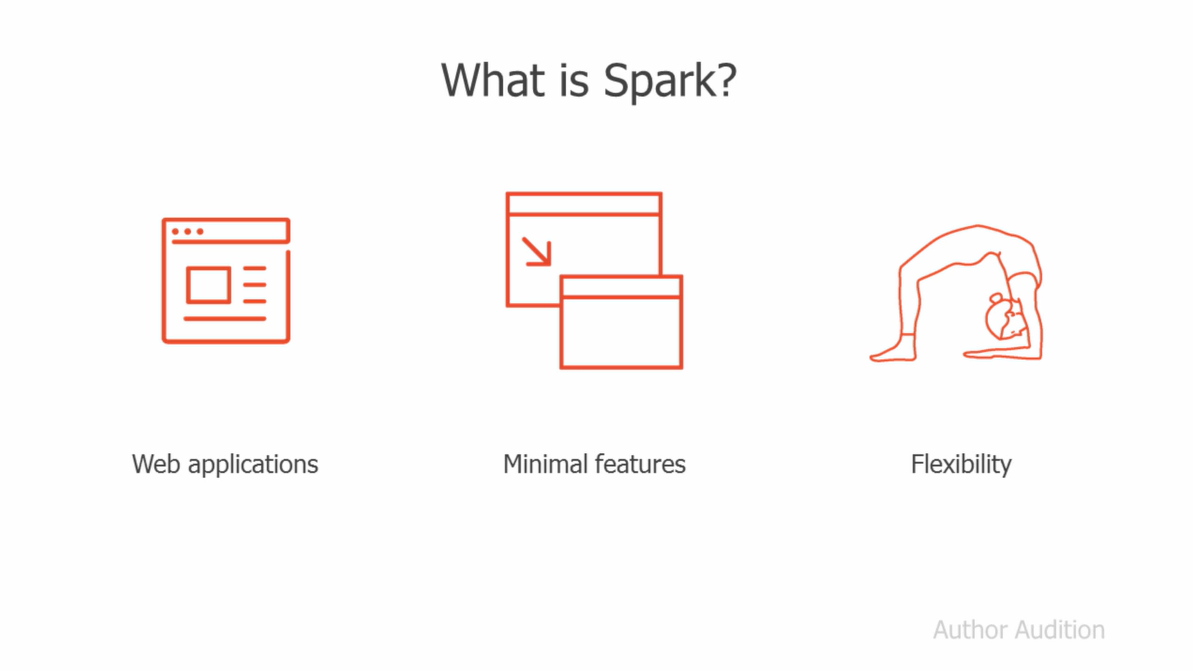
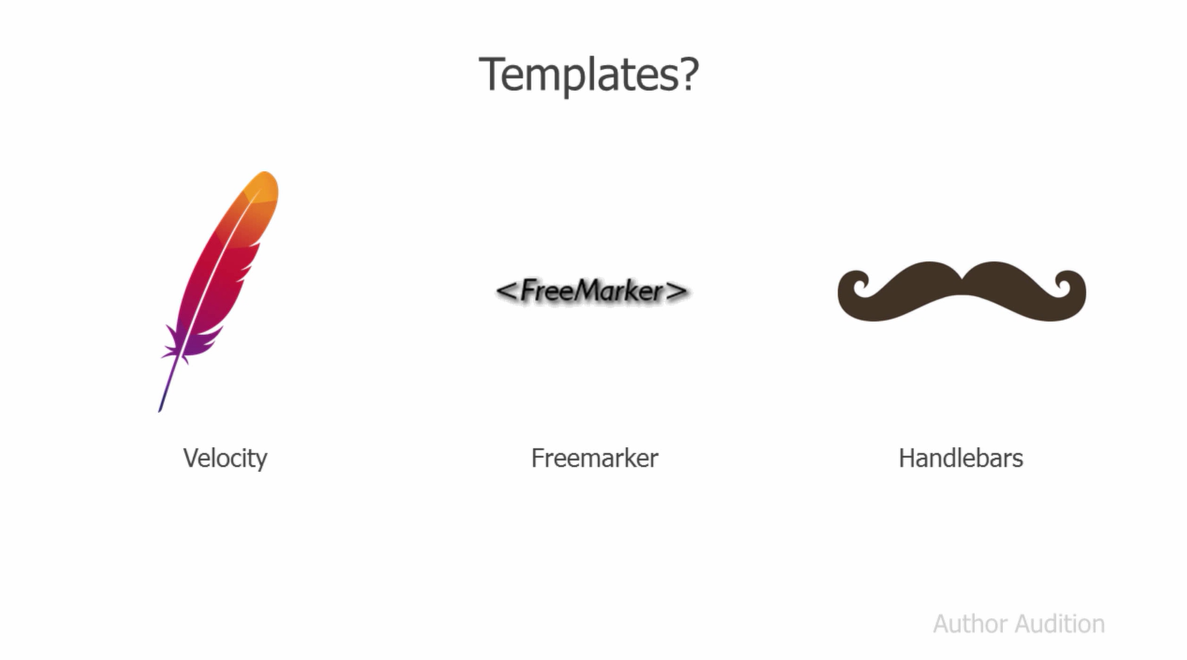
Notice the rule of three. Also, notice that I didn’t use bullet points, it’s better to use images. By the way, I got the icons from The Noun Project.
However, instead of presenting the points all at once, it could have been better to animate the icons so they appear at the appropriate time. The same applies to the following slides:
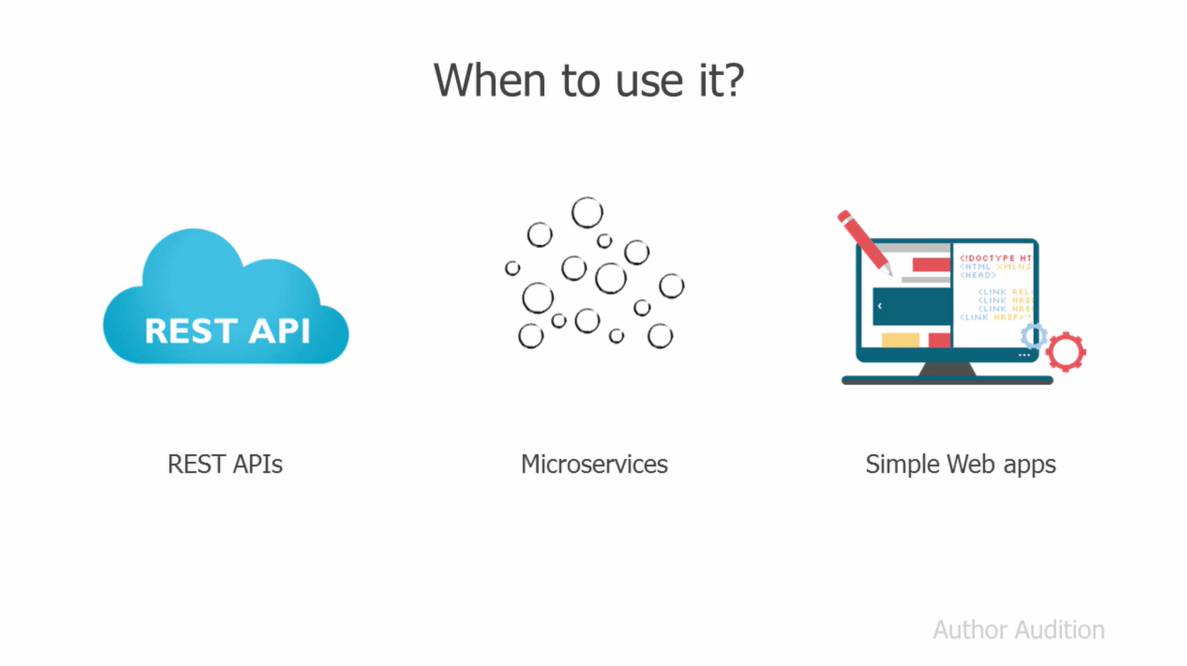
Moving forward, you should use callouts (in Camtasia/ScreenFlow) to bring attention to something in the screen:
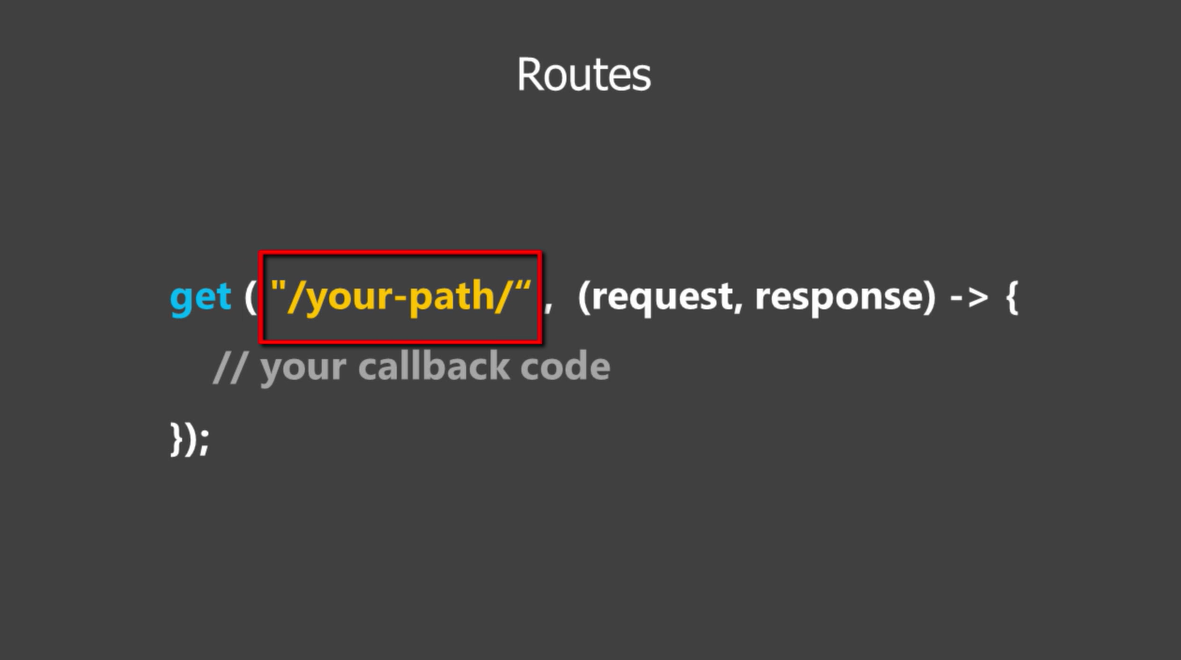
And we reach the demo, which was about building a microservice to generate QR images. I set the demo expectations on this slide:
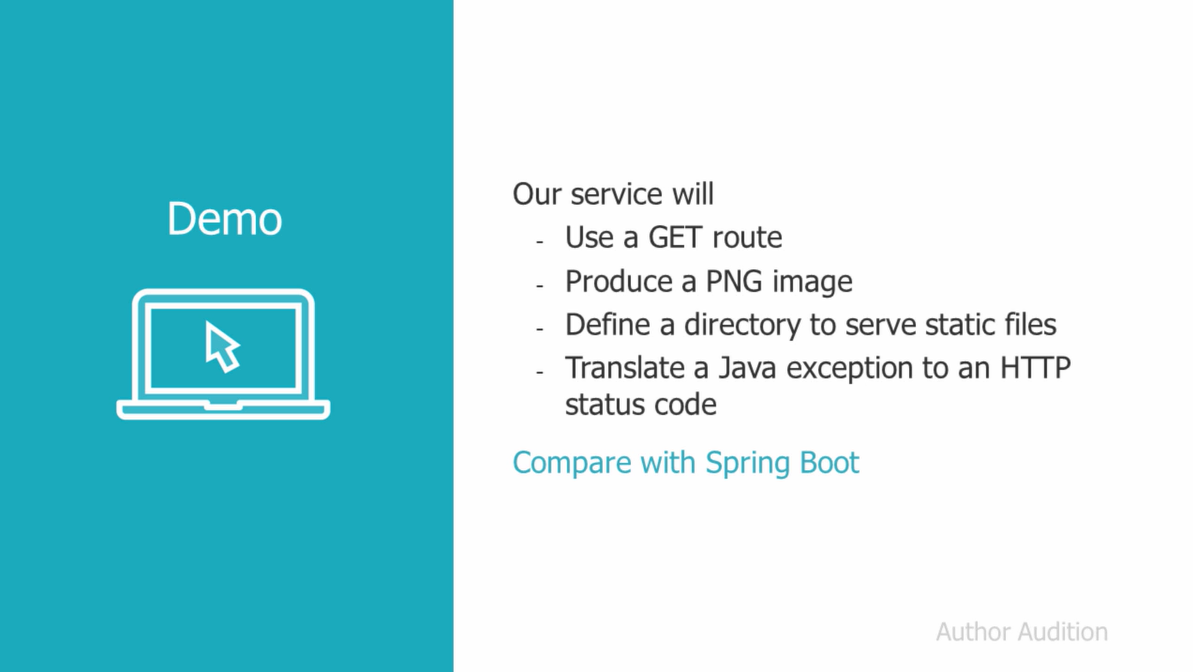
Looking back, I would have been better to highlight the Compare with Spring Boot point just before the comparison, not at the very beginning.
Anyway, in the demo, instead of highlighting the important parts with mouse movements or something like that, it’s better to use callouts:
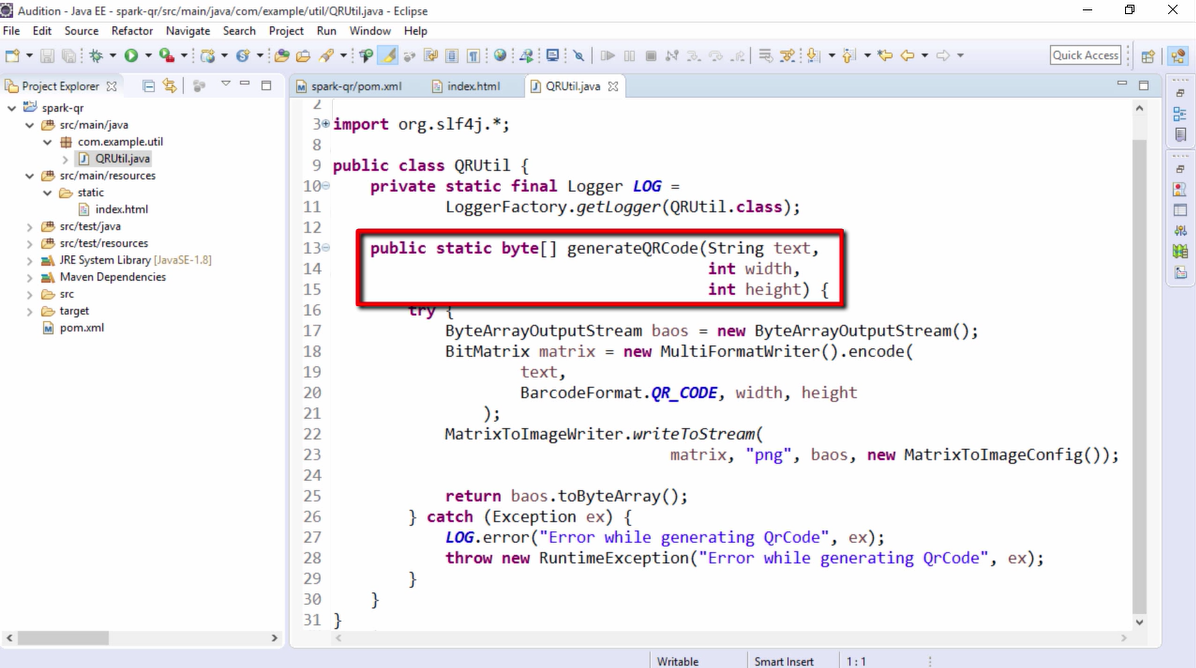
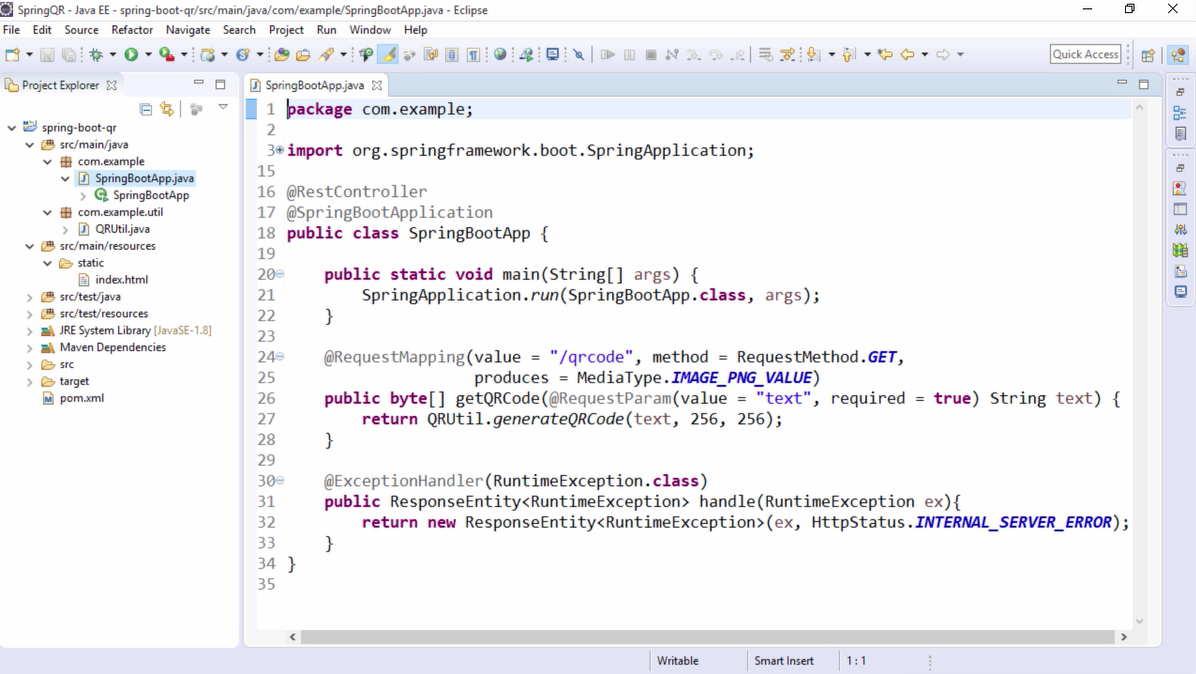
Later on, I explained the code I used to generate the QR code, however, the reviewer said that this was not necessary since the goal was to learn about Spark I should keep the demo focused on that:
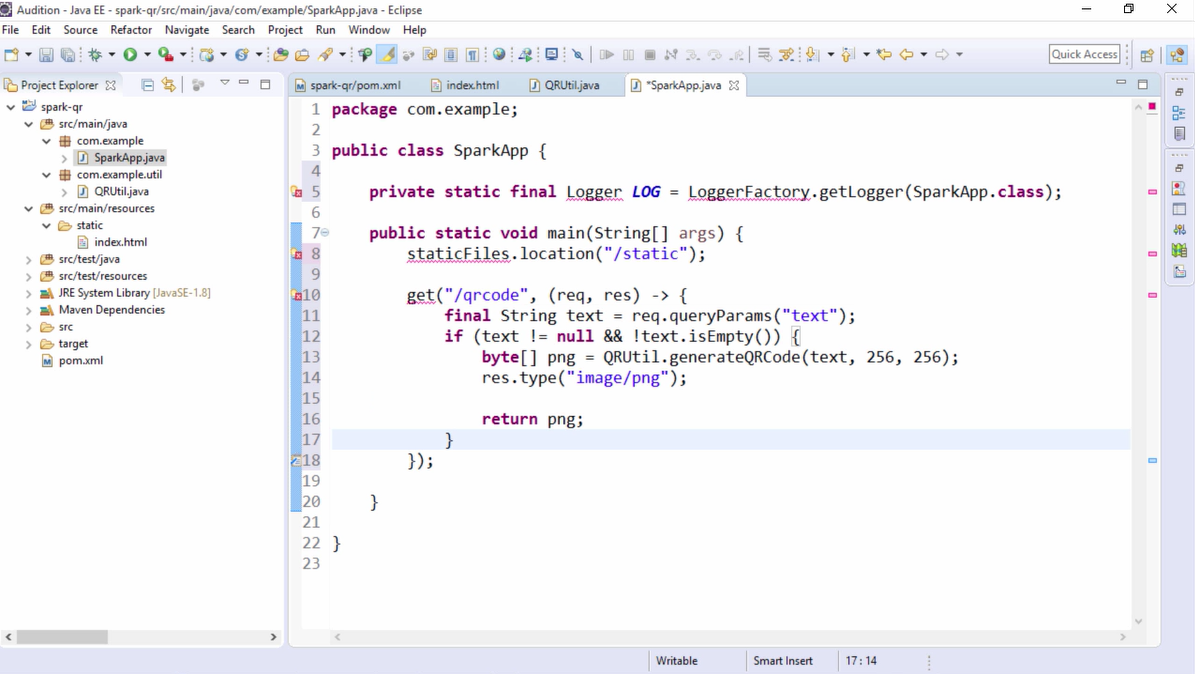
Next, for the core of the app, I chose a copy-paste approach, since typing the code would take a lot of time (remember that the video should be less than ten minutes). There’s no really a guideline about code, you can just show the code (like the code to generate the QR code), copy-paste it as you explain it (like here), or type it (maybe editing out typing errors and speeding up the video a little bit):
All right. Now, the villain attacks. I show the microframework build with Spring Boot saying something like you can also code the service with another style (annotations) and even with fewer lines of code using Spring Boot:
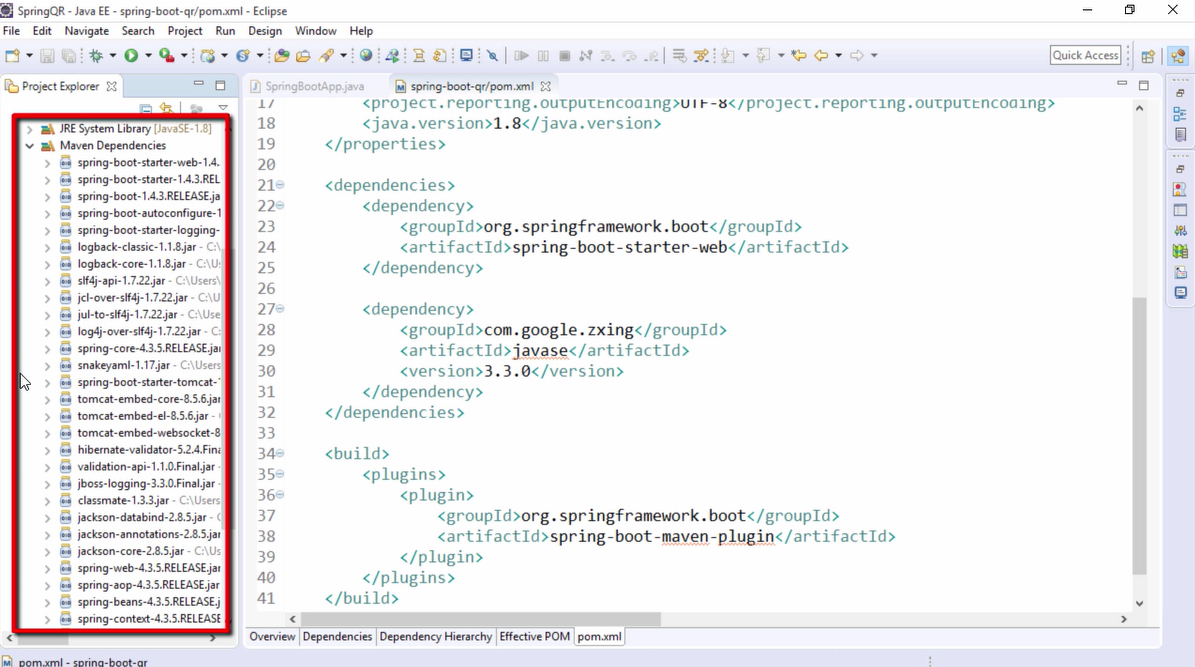
But the hero fights back. Look at the start up time and all those dependencies:
And the hero wins:
Now, to end part two, let’s show the point of the story:
I was running out of time so my last slide comprises the entire Part Three (how the story relates to the audience, summarize the benefits, and call to action):
Final tips
Speak with confidence, but try to vary the tone and speed of your voice to avoid sounding monotonous.
Read carefully all the instructions and follow them (especially the video length, it’s not that easy to keep it under 10 minutes).
Keep your slides simple, try to use images and simple fade animations to emphasize points.
I wanted to produce the video in less than three weeks, but actually, there’s no deadline, so take it easy.
Familiarize with the Pluralsight library content. Try to find out what’s missing or weak in its offering and think how can you help.
This is important. I mentioned earlier than I’m choosing to create courses related to Java because Pluralsight doesn’t have a lot of content in this area. I think if I had chosen areas like .NET and JavaScript, on which Pluralsight has tons of great content, maybe the quality criteria for the video would have been higher. Or maybe they wouldn’t have contacted me so quickly. Who knows? Maybe, maybe not.
The truth is, right now, Pluralsight is actively looking for authors in the following areas:
- Salesforce
- Python
- Android
- Big data & machine learning
- AWS
- Security
- Java
So if you know about these technologies and want to join Pluralsight, it may be a littler easier to get in. This doesn’t mean that they are no longer accepting .NET and Javascript authors, it’s just that the ones above are the top acquisition areas.
I hope this was useful to you.
If you have questions, want feedback on your audition video, or if you want me to refer you to an acquisition editor (you’d still have to pass the audition), contact me and I’ll try to help you.